BARN QUILT LEARNING CENTER
How to Prepare a Barn Quilt Board
Most paint failures begin before the pattern is drawn. Preparation should create a clean, stable, compatible surface without damaging the face of the panel.
- Skill level
- Beginner
- Planning time
- Several short sessions plus drying
1. Inspect and square the panel
Check dimensions, diagonals, flatness, face defects, edge damage, and the intended front. Correct cutting problems before paint is applied.
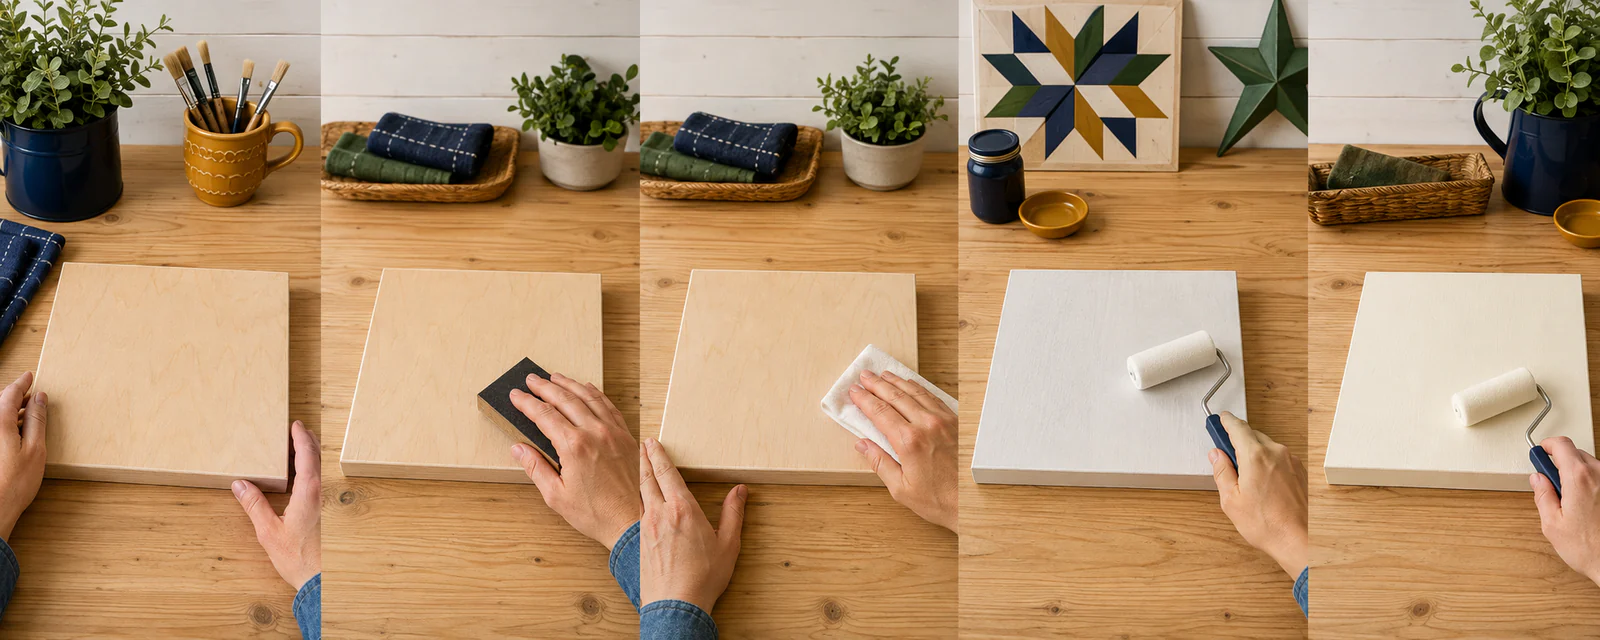
2. Ease and sand
Remove splinters and sharp edge fibers. Sand only as aggressively as the substrate requires; factory-finished sign panels and ACM need their own preparation instructions.
3. Remove contamination
Remove sanding dust and any oil, release agent, or residue using a method compatible with the panel. Allow the surface to dry completely.
4. Treat edges and penetrations
Wood-panel edges and drilled holes are common moisture-entry points. Use a compatible edge treatment and allow it to dry before continuing.
5. Prime
Apply the primer recommended for the substrate and paint system. Thin, even coverage is preferable to ridges and puddles.
6. Apply the base coat
The base coat becomes both the background color and the surface that receives tape. Build smooth coverage with the needed number of thin coats.
7. Test before layout
On scrap or an inconspicuous area, test pencil removal, tape adhesion, paint bleed, and—if planned—topcoat compatibility.
Helpful tips
- Prepare the back and edges as required by the exposure, not only the decorative face.
- Do not mask over paint that is dry to the touch but not ready for tape.
Frequently asked questions
Should I prime both sides?
Follow the panel and coating manufacturer’s guidance. Balanced treatment can matter on wood panels, especially where moisture exposure differs between faces.
How smooth should the base coat be?
Smooth enough for reliable tape contact, without heavy ridges that create channels under the tape.